
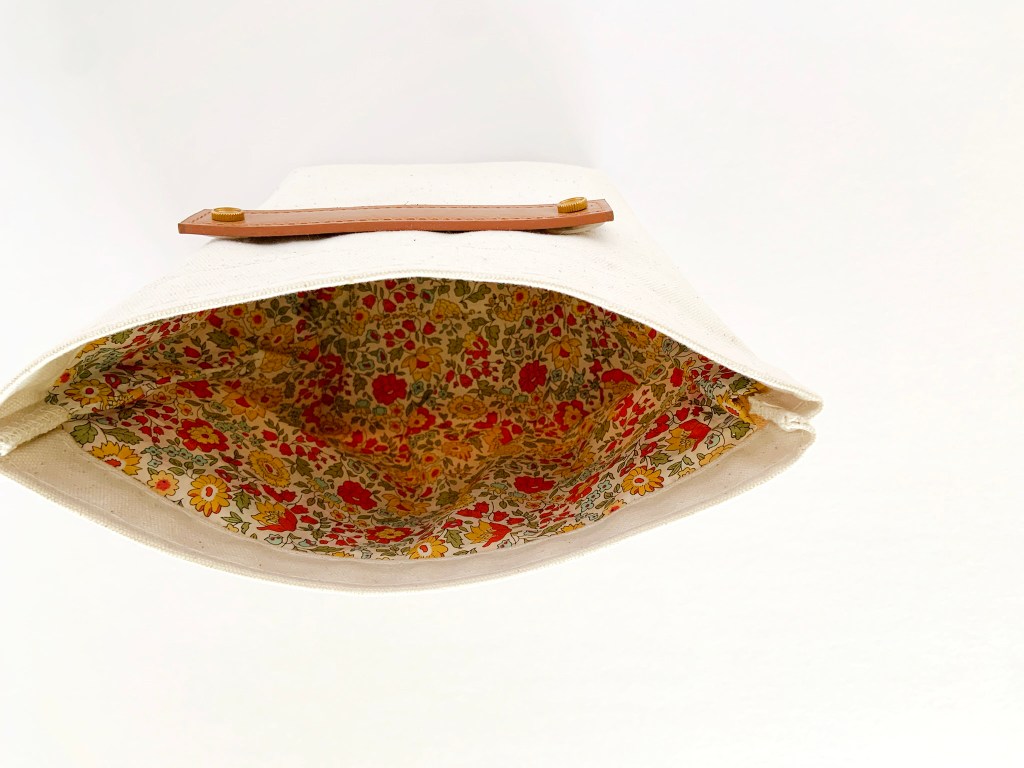
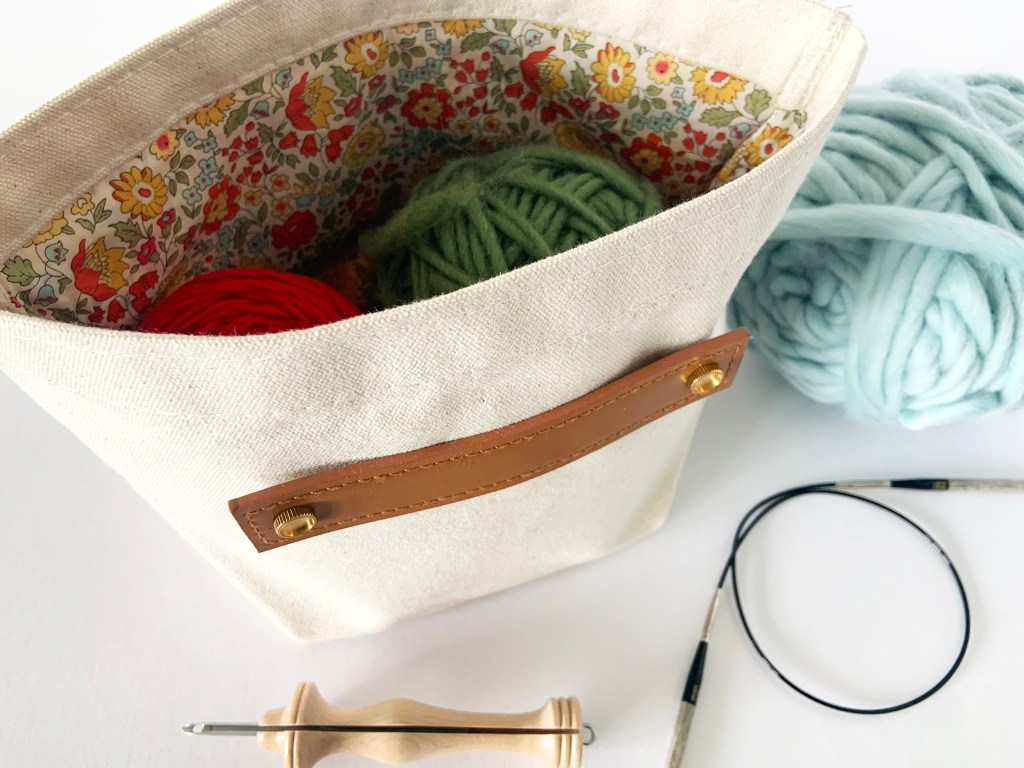
I found this beautiful lightweight fabric and wanted to add it as a lining to one of my bucket blanks. I also added this Dritz faux leather handle to add a little style to the front of the bucket. Following these simple steps, you can add a lining to any canvas tote bag.
Materials:
Lining Fabric
Sewing Needle
Thread
Scissors
Sewing Machine
Pins
Faux Leather Handle (optional)

If you are adding the handle, do this first so the hardware is hidden by the lining. Follow manufacturer instructions.

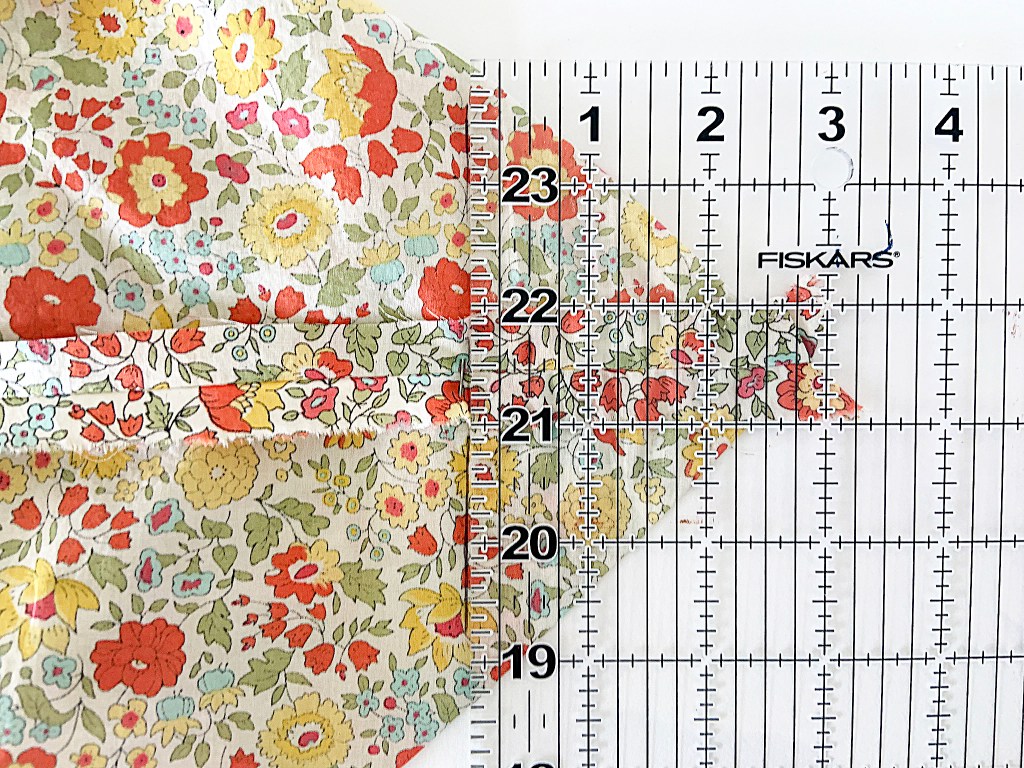
Measure the length of the bag and add an additional 5″. Measure the width of the bag and add 1″ for the 1/2” seam allowance. Cut two pieces of lining fabric this size. My bucket measured about 6.5”l x 10.5”w so I cut my lining fabric to 11.5”l x 11.5”w.
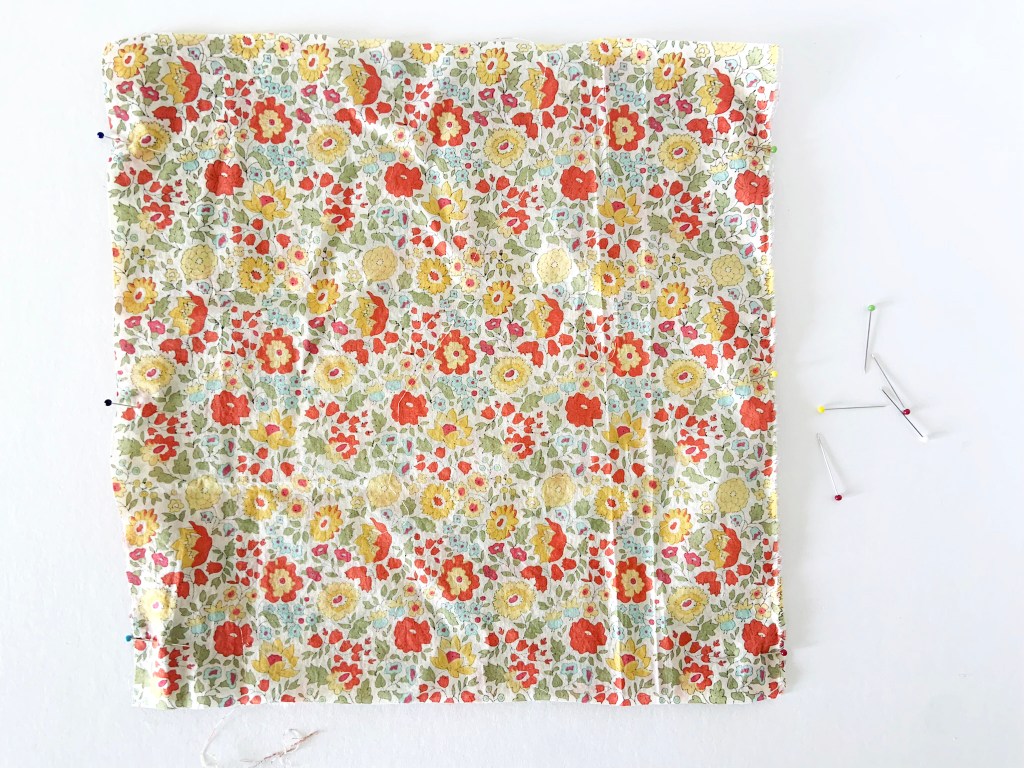
Pin the two pieces of fabric together.
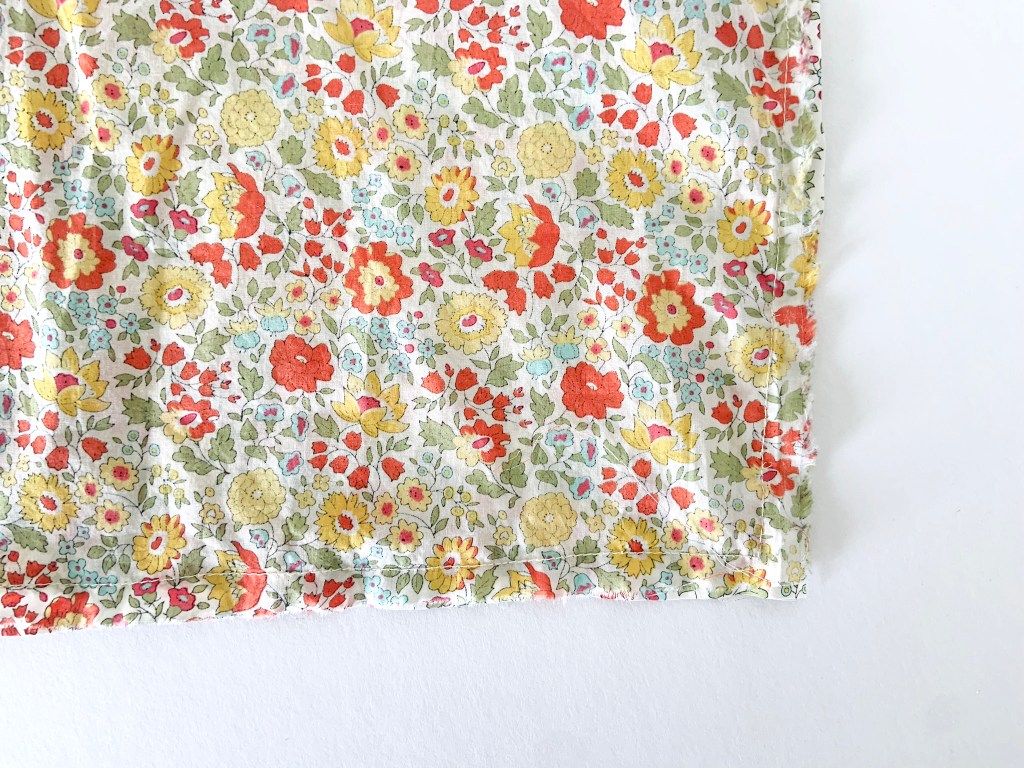
Stitch the sides and bottoms together using a 1/2” seam allowance.

Iron your seam open.
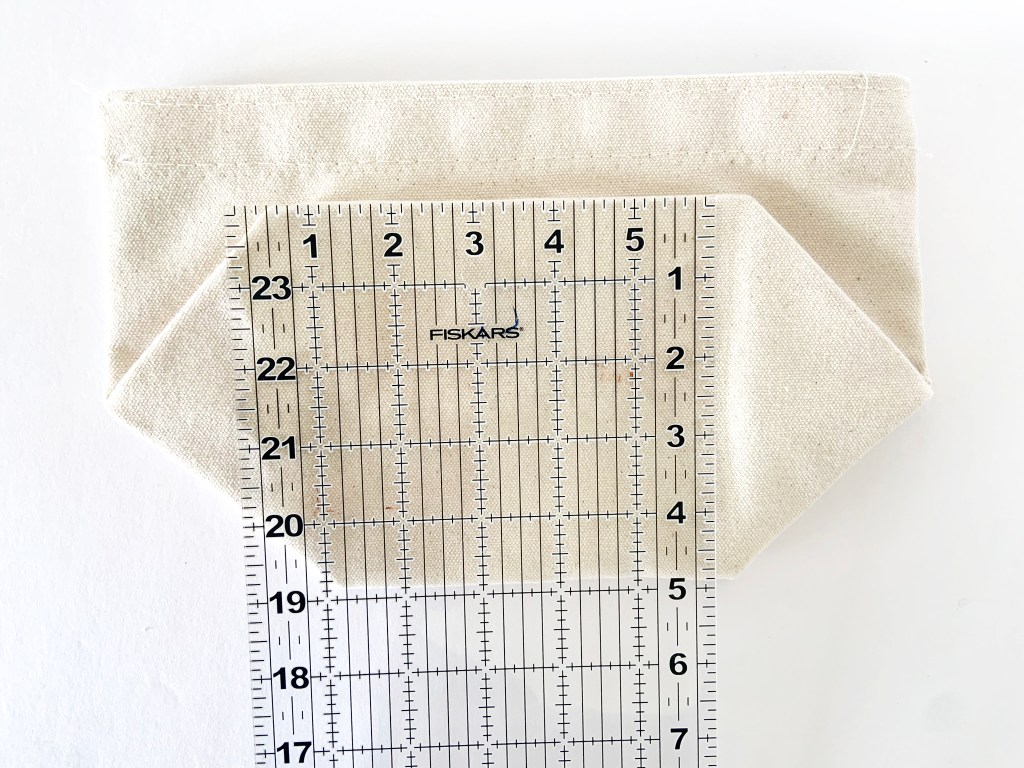
Measure the gusset of the bag. Mine measures 5”.

Align your bottom and side seams. Pin in place.
Take half of your gusset length and measure this amount up from the corner (my gusset measures 5” so I’m marking 2 1/2” up from the corner).
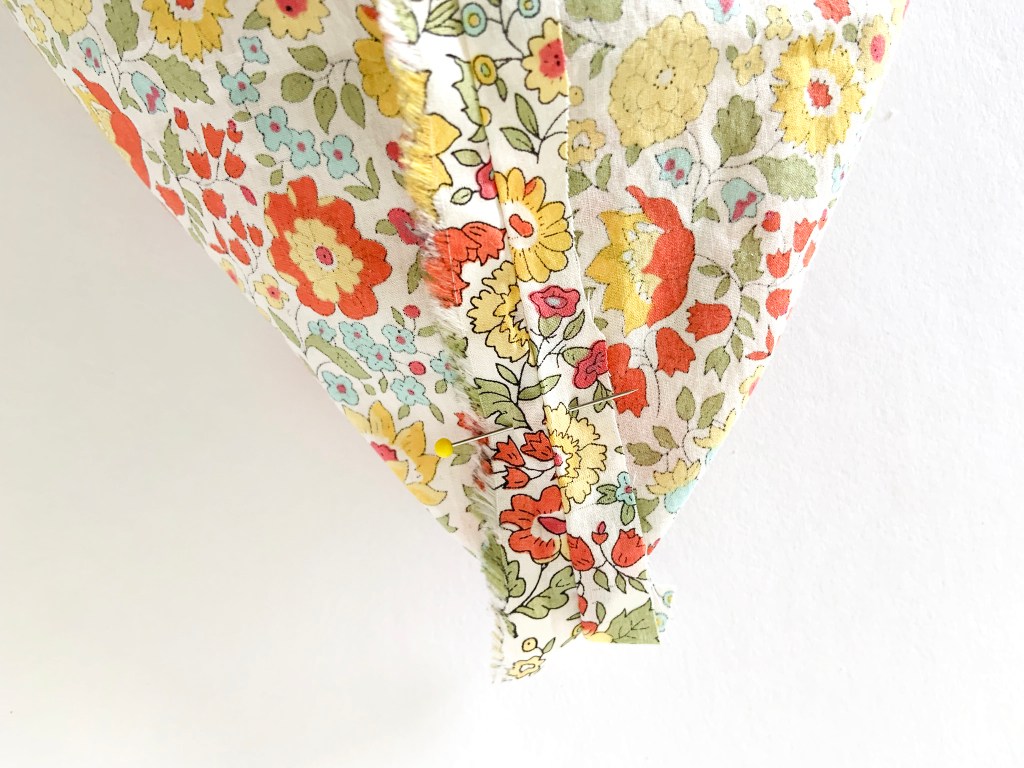
Mark and pin. Repeat on the other side.
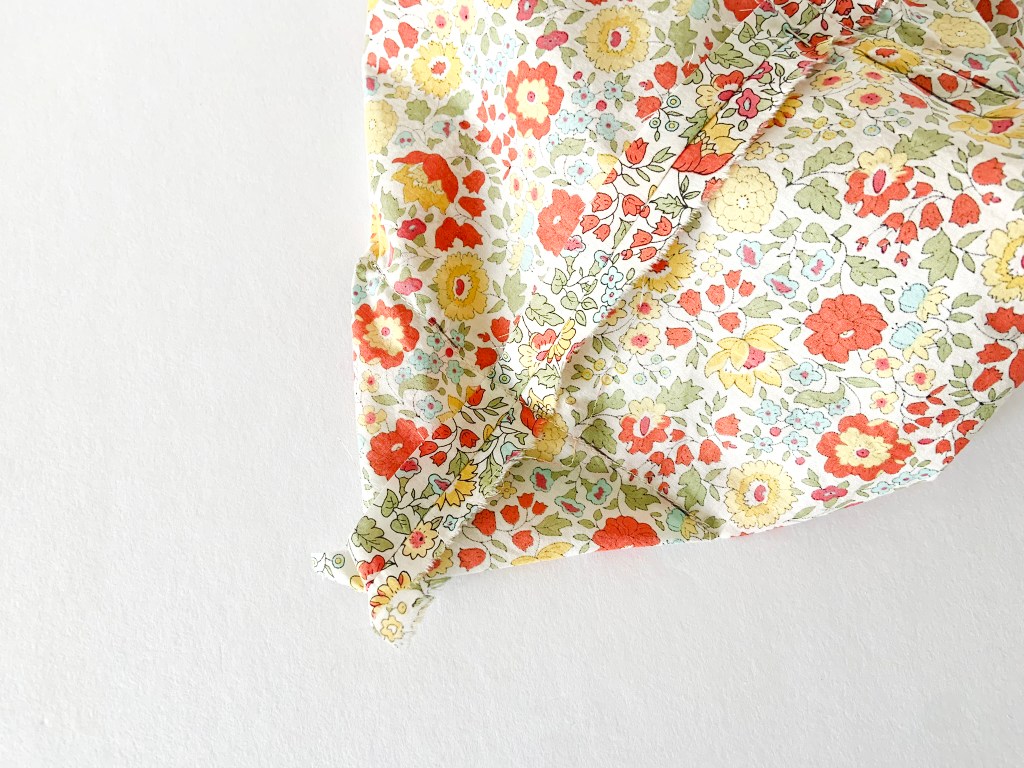

Stitch your corners and snip off the excess fabric.

Fold any additional fabric at the top of your lining until it fits comfortably in your tote.
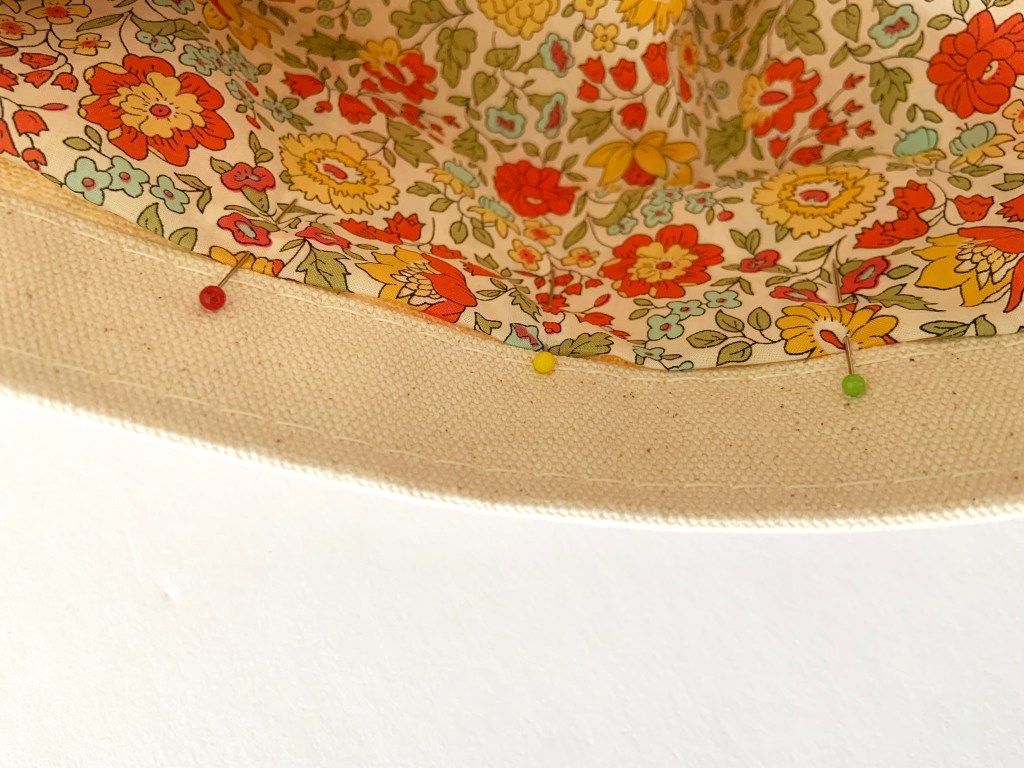
Pin your lining just under the panel at the top of the bag.

Handstitch your lining in place using a running stitch and thread that matches the color of the bag. Place the running stitch close to the panel on the inside so it isn’t too noticable.

When you are stitching to the tote side, make sure just to grab one weft of the weave of the bag so you won’t notice a big, long stitch on the outside of the bag. Stitch all the way around and fasten off your thread.
Now you have a beautifully lined bag! Enjoy!
